 how-to
How to Carve a Bone-in Ham: Step-by-Step
Table of Contents
- What You'll Need Before You Start
- Best Knife for Carving Ham and Proper Technique
- How to Carve a Bone-in Ham: Preparation and Orientation
- How to Slice a Ham Around the Bone
- Achieving Consistent Slice Thickness and Minimizing Waste
- How to Store Leftover Ham Properly
- Common Carving Mistakes and How to Avoid Them
- Frequently Asked Questions
Last Updated: October 20, 2026
What You'll Need Before You Start
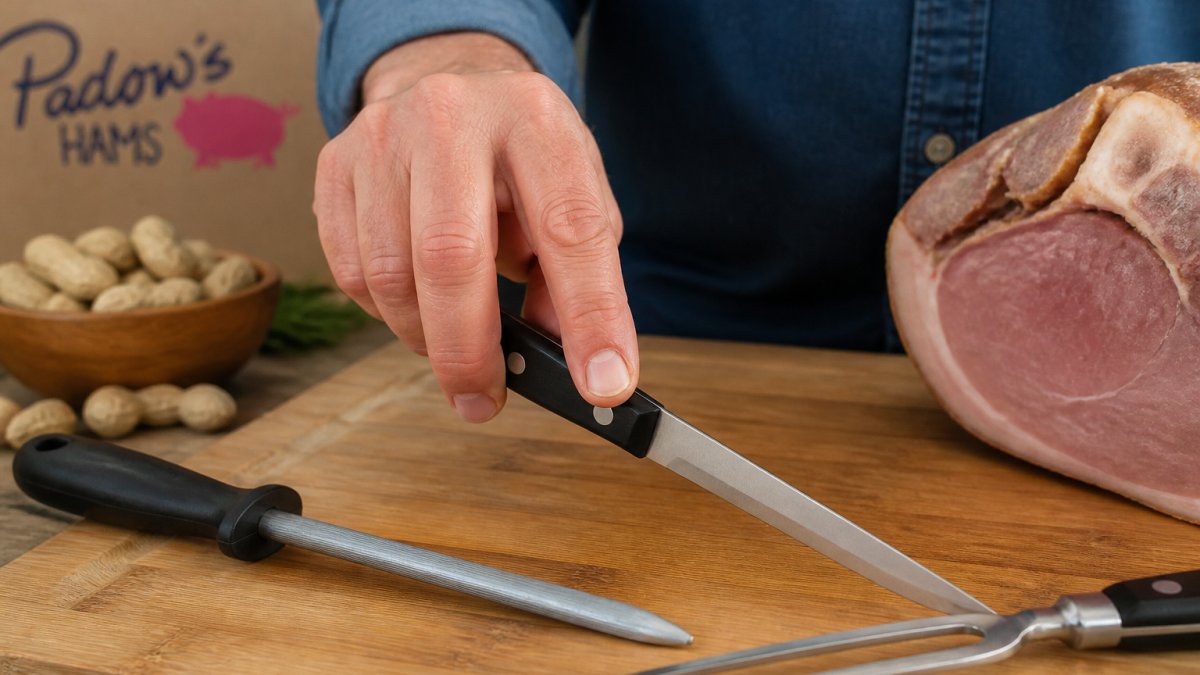
Learning how to carve a bone in ham starts with the right tools: a sharp carving knife, a carving fork, a clean cutting board large enough to hold the ham steady, and a sturdy work surface with good lighting so you can see the bone structure.
A dull blade slips and tears the meat instead of creating clean slices, so hone or sharpen before you begin. A carving fork with two long tines holds the ham in place for better control and safety.
Best Knife for Carving Ham and Proper Technique
The best knife for carving a bone-in ham is a long, narrow carving knife with an 8- to 10-inch blade. Length matters because a single stroke should travel from the top of the ham to the board without stopping, short blades force a sawing motion that tears the meat.
Skip the electric knife unless you are carving a very large ham for a crowd. Electric blades reciprocate, producing a ragged cut face and making it harder to feel where the bone is.
Getting the Edge Actually Sharp
A carving knife that has sat in a drawer since last holiday is not sharp, even if it feels sharp. Two different jobs get confused here:
- Honing realigns an edge that is already sharp. Run the blade across a honing steel at roughly a 20-degree angle, five to ten light strokes per side, before every carving session. Honing does not remove metal and will not rescue a dull knife.
- Sharpening removes metal to re-form the edge. Use a whetstone or a guided sharpener at about 15 to 20 degrees per side. Most home cooks need to sharpen a carving knife only a few times a year if they hone it regularly and never put it in the dishwasher.
A quick test: rest the edge on a ripe tomato and draw it back without pressure. If the skin breaks cleanly, the knife is ready. If the tomato squashes, hone first, then sharpen if honing does not fix it.
The Grip That Keeps You Safe
Hold the knife in a pinch grip: thumb and index finger pinched on the base of the blade where the edge meets the bolster, remaining three fingers around the handle.
On the ham, use a claw: curl the fingertips of your guiding hand under and let the knuckles ride against the flat of the blade as a guide.
Use long, drawing strokes, push slightly forward and down as you draw the blade toward you, rather than chopping straight down. If you find yourself pressing hard, the knife needs honing, not more force.
How to Carve a Bone-in Ham: Preparation and Orientation
Before your first cut, examine the ham's structure. A bone-in ham has two ends: the shank end, which is narrower and tapers to a point, and the butt end, which is thicker and more rounded. Knowing which end you have helps you plan your carving strategy.
Place the ham on your cutting board skin side up, with the thin, flatter side facing you. This orientation gives better access to the meat and makes it easier to work around the bone.
Understanding Shank End vs. Butt End
The shank end is the lower leg portion, with a single bone through the center and less meat overall. It is easier to carve because the bone structure is simpler, start here if you're new to carving ham.
The butt end is the upper portion with more meat but a more complex bone structure, including rib bones. It yields more usable meat, and once you master the shank end, the butt end becomes manageable.
Creating Your First Flat Base
Your first cut is crucial: make a cut perpendicular to the bone to create a flat base, which gives you a stable platform for all subsequent cuts. Set the carving fork firmly into the ham and cut slowly, letting the blade do the work.
With the flat base cut, the ham sits securely on the board, making all remaining cuts safer and more controlled. This first cut takes the most effort but is worth the time.
How to Slice a Ham Around the Bone
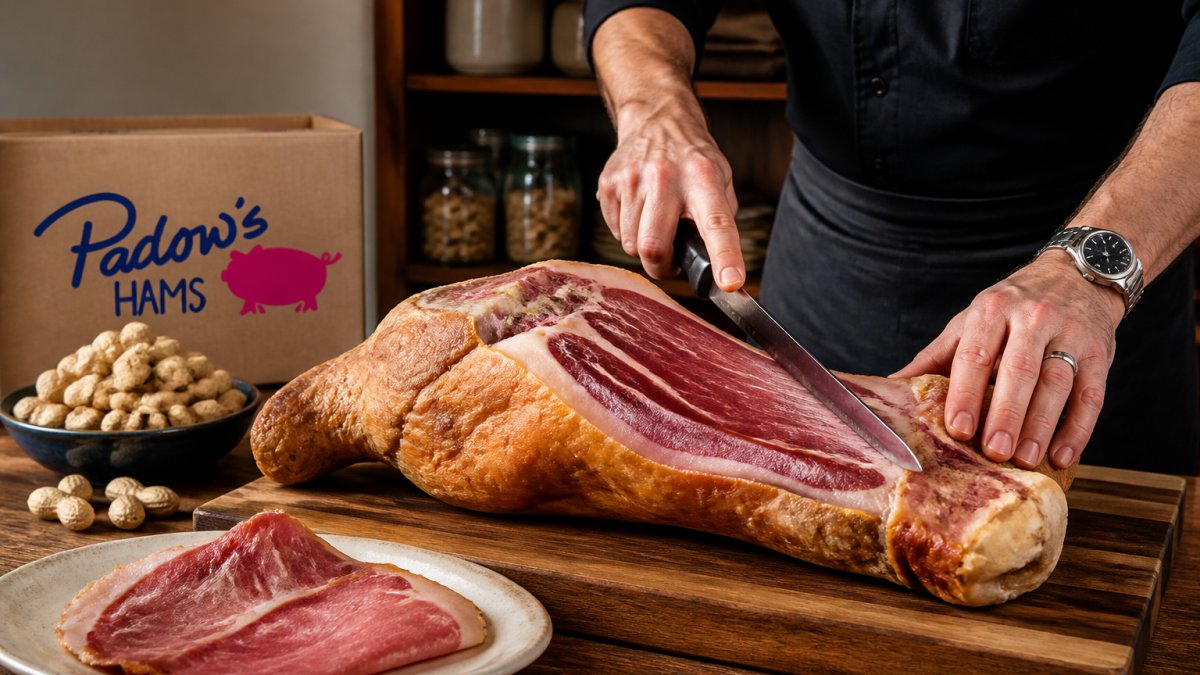
With a flat base cut and the ham stabilized, you are ready to learn how to carve a bone in ham by slicing. Press the fork into the top of the ham, well back from where the blade will travel, and begin slicing parallel to the bone. Each stroke should start at the top, follow the contour of the bone, and finish at the board. Aim for slices about one-quarter inch thick, thick enough to hold together, thin enough to heat evenly.
Slicing Across the Grain
Look at the cut face before you start: fine lines running through the muscle are the grain. Slice perpendicular to those lines. Cutting across the grain shortens the muscle fibers so they chew tender; slicing with the grain leaves long, stringy fibers. On a whole ham the grain direction changes from shank toward butt, so re-check the face after you rotate the ham.
Working Around Rib Bones
On the butt end you will meet rib bones running at an angle. Do not cut through them. When the edge contacts bone, stop, lift the blade slightly, and angle the knife to ride along the bone's surface. Slice down one side of the rib, then the other; once both sides are freed, the rib section lifts away cleanly and you can carve the meat off it separately.
Troubleshooting the Cut
- Meat tearing instead of slicing: the knife is dull or you are sawing. Hone, then use one long drawing stroke per slice.
- Slices of wildly different thickness: you are watching the blade instead of a reference. Score the ham lightly at one-quarter-inch intervals before you start, or use the existing fat lines as guides.
- The ham slides on the board: put a damp towel under the board, or set the board on a non-slip mat. A board that moves is the most common cause of a slip injury.
- The blade drags and sticks: wipe it; built-up fat is the usual culprit.
- You lose track of the bone: probe gently with the tip of the knife before each stroke rather than pushing through resistance.
Carving Close to the Bone With Minimal Waste
When the main slices are off, don't discard the bone with meat still clinging to it. Lay the ham so the bone is exposed and use short, controlled strokes to strip the remaining meat, the richest pieces, ideal for soups, hash, sandwiches, or a quick fry-up. If a joint resists, cut around it rather than forcing the blade through.
The bone itself is worth keeping. Simmer it with water, onion, and bay for a pot of beans or split pea soup, country ham bones carry a lot of salt and smoke, so taste before you season the pot.
Resting, Temperature, and Keeping Slices Warm
Carve a heated ham after it has rested about 15 to 20 minutes, so juices redistribute and stay in the slices instead of running onto the board. If carving a refrigerated fully cooked ham, let it sit at room temperature for about 30 minutes first, cold meat crushes and tears under the blade.
For food safety, keep hot ham at 140°F or above until serving and refrigerate leftovers promptly. Reheat leftover slices gently, covered, with a splash of water or stock in the pan so they do not dry out.
Achieving Consistent Slice Thickness and Minimizing Waste
Consistent slice thickness looks more professional and ensures even reheating. Aim for slices about one-quarter inch thick, substantial enough to hold together but thin enough to cook evenly and eat comfortably.
Use visual markers to maintain consistent thickness. If the ham has scoring or fat lines, use them as guides and cut at regular intervals. A steady hand and good lighting help throughout.
Minimize waste by working methodically around the bone. Don't discard clinging meat, carve it away for soups, salads, or sandwiches. The meat around the bone is often the most flavorful.
| Carving Goal | How to Achieve It | Expected Result |
|---|---|---|
| Consistent thickness | Use visual markers and steady hand | Professional appearance, even cooking |
| Minimal waste | Carefully carve around bone edges | More usable meat per ham |
| Tender slices | Cut against the grain | Better texture and mouthfeel |
| Safe carving | Stabilize with fork, use sharp knife | Fewer accidents, better control |
How to Store Leftover Ham Properly
After carving, place leftover ham in an airtight container or wrap it tightly and refrigerate immediately. Use it within three to four days; cold storage slows bacterial growth and keeps the meat fresh.
For longer storage, freeze slices: wrap individual portions in plastic wrap, place in a freezer bag, and remove as much air as possible. Frozen ham keeps for several months; thaw in the refrigerator, never at room temperature.
Label containers with the date to track storage time. Leftover ham works beautifully in sandwiches, omelets, soups, and salads throughout the week.
Common Carving Mistakes and How to Avoid Them
One common mistake is a dull knife, which forces more pressure and leads to slipping and torn meat, always start sharp. Another is failing to stabilize the ham with the carving fork; an unstable ham moves around, making precise cuts impossible.
Many people carve too quickly, which leads to uneven slices and wasted meat, take your time and make deliberate cuts.
When you serve a premium ham like those from Padow's Hams Co., carving it properly shows your guests you value quality. Our Virginia country hams, cured for three months, deserve the care and attention that proper carving technique provides.
Frequently Asked Questions
What's the best knife for carving a bone-in ham?
A long carving knife with a thin, sharp blade works best for bone-in ham. The blade should be at least 8 inches long to make smooth, even slices without sawing. Keep your knife sharpened before you start, a dull blade tears the meat and makes clean slicing nearly impossible. A carving fork stabilizes the ham while you work, preventing slipping and ensuring safe, controlled cuts.
Should I let a bone-in ham rest before carving?
Yes. Let your ham rest for 15 to 20 minutes after cooking, loosely tented with foil. Resting allows the meat to relax and retain its juices, making slices cleaner and more tender. A warm ham is easier to carve than one straight from the oven, and the juices stay inside the meat rather than running onto the cutting board.
How do I carve the meat left on the ham bone?
After removing the large slices, carefully cut along both sides of the central bone with your carving knife, following the bone's contour. Work the blade down and around the bone to separate remaining meat in larger chunks. Leftover meat is perfect for soups, sandwiches, or hash. Save the bone for making broth, it adds rich flavor and body.
How thick should ham slices be?
Aim for quarter-inch slices for traditional serving. This thickness is thick enough to hold together without falling apart, but thin enough to cook through evenly and feel tender when you eat it. Use a gentle sawing motion rather than pressing down hard, and let your sharp knife do the work. Consistent thickness also makes the ham look more polished on the serving platter.